Embarking on a kitchen renovation is an exciting journey that can significantly enhance the aesthetics, functionality and value of your home. To ensure a smooth and successful project, it’s crucial to follow a well-organized plan.
In this blog post, we’ll guide you through the essential steps of renovating your kitchen, from measuring the space to the finishing touches.
Measure Your Space:
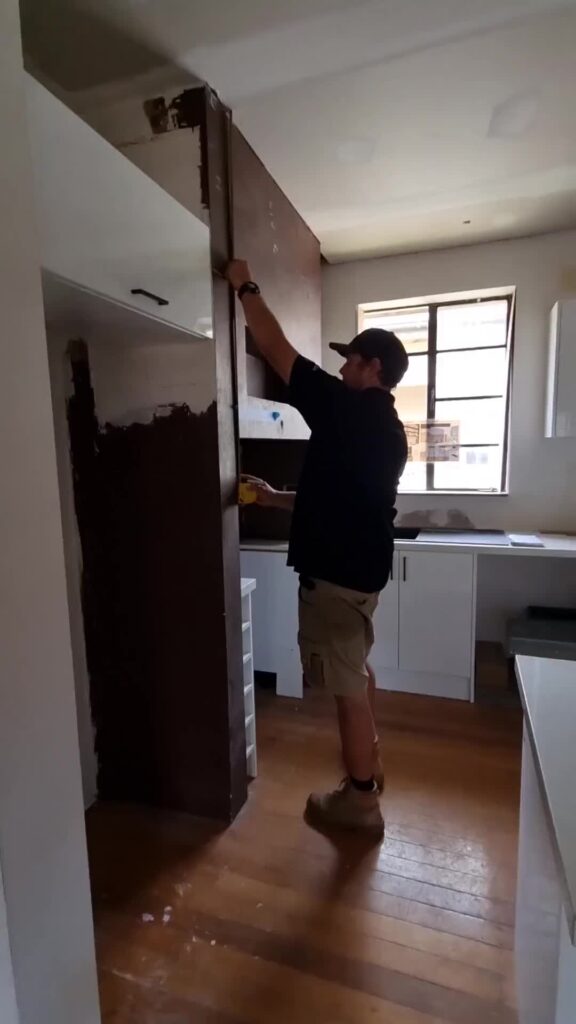
The first step in any successful kitchen renovation is accurate measurements. Measure the entire kitchen area including the ceiling height, and any features or obstacles such as window and door sizes and their distance from walls and floors.
Measure the distance of sinks and appliances from their closest wall. This will allow the designer to know where the existing plumbing and electrical points are.
This information will serve as the foundation for your design and help you make informed decisions throughout the renovation process.
Design Your Kitchen:

Once you have precise measurements, it’s time to bring your dream kitchen to life. Collaborate with a skilled kitchen designer to create a layout that maximises space, functionality, and aesthetic appeal.
Consider factors such as traffic flow, storage needs, and your personal style. A well-thought-out design is the key to a kitchen that not only looks great but also works seamlessly for your daily needs.
Order Your Kitchen:
After finalising the design, it’s time to order the necessary materials and components. Work with reputable suppliers to ensure the quality of your cabinets, countertops, appliances, and other fixtures.
Timely ordering is crucial to avoid unnecessary delays in your renovation timeline.

Find an Installer:

Once your materials are ready, it’s time to find a skilled installer. Obtain quotes from experienced professionals who can handle the installation of your new kitchen efficiently. Confirm if the installer will also manage the demolition and disposal of your existing kitchen.
Review the installation proposal in detail to ensure everything you have planned is included. Verbal conversations don’t always end up in the final proposal, ensure anything discussed is itemised in the proposal. This will help in avoiding disappointment and potential variations.
If this is sounding like too much, and you want some professional help to manage your renovation Speak to the WeDo team.
Demolition and Disposal:
If your installer doesn’t manage the demolition, find a reliable demolition specialist who will remove and recycle materials while disposing what isn’t recyclable.
Where walls are being removed to create a more open the space, ensure the building structure has been inspected by a builder or engineer to ensure the walls are non structural.
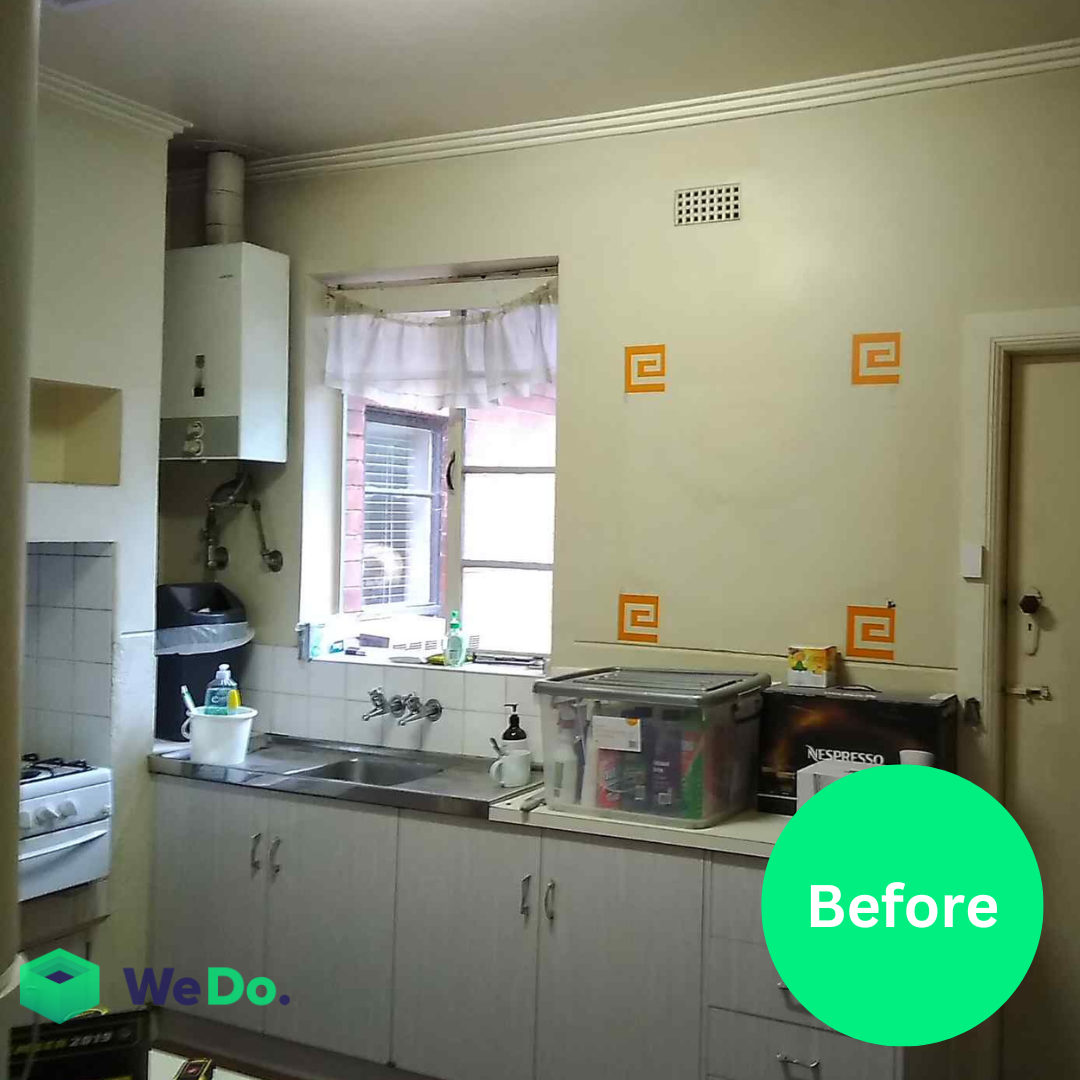
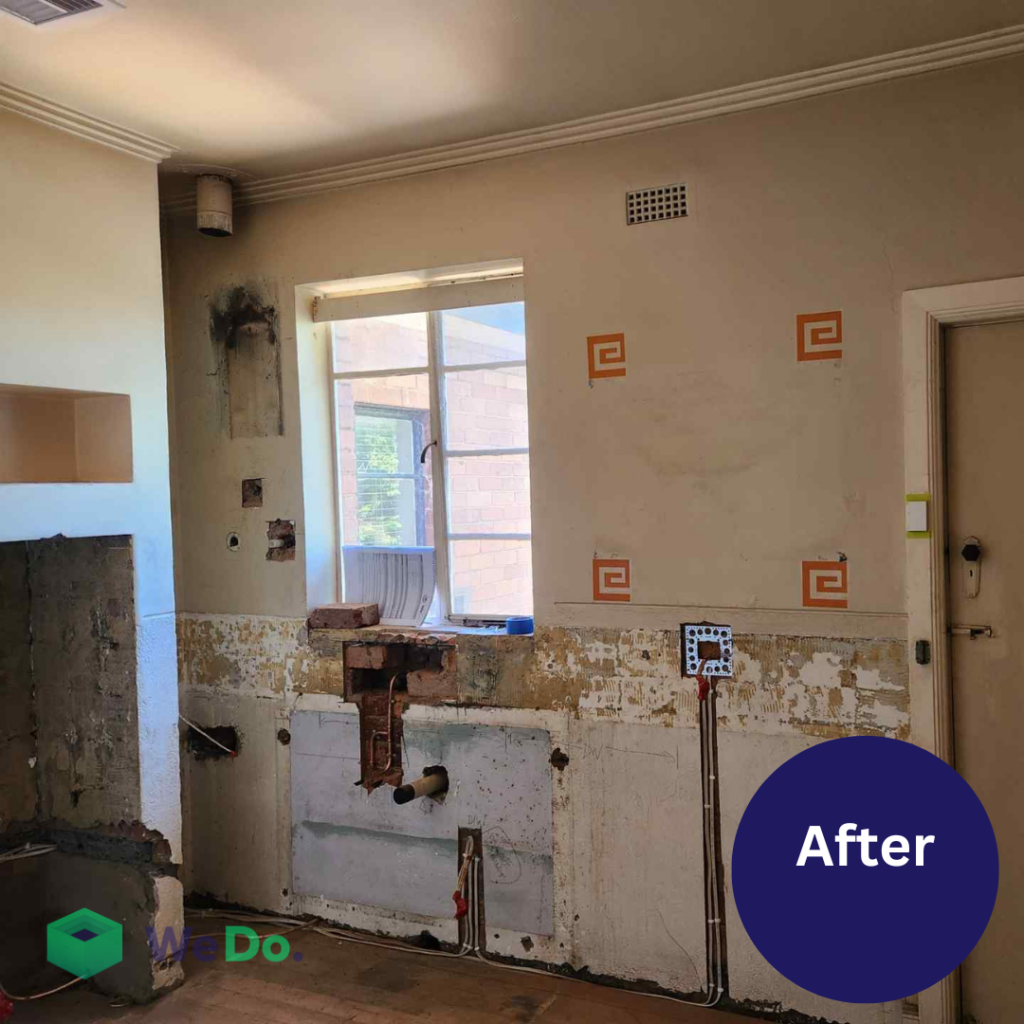
Clear communication is key to ensure a smooth transition from the old to the new.
Discuss and put in writing which items are to be retained and where you want them placed after the demolition. This will ensure the items you want kept aren’t swept away with the demolition.
Proper disposal of debris is essential for a clean and safe worksite.
Carpentry

A carpenter may be required if you are planning to construct new walls, close or open doorways, change windows or make good where walls have been removed.
Plumbing and Electrical
Hire licensed plumbers and electricians to quote on disconnecting for demolition, roughing in new works, and fitting off.
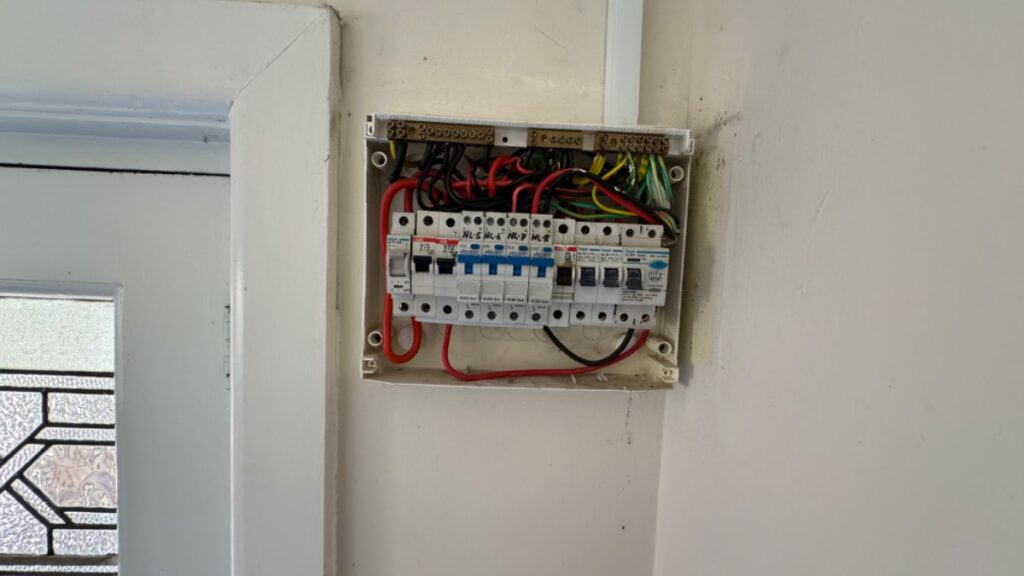
For electrical, ensure you have the specifications on your appliances for the electricians to review. Upgraded circuits may be required to support the new appliances.
Its best practice to mark on your plans where you want new single and double power points.
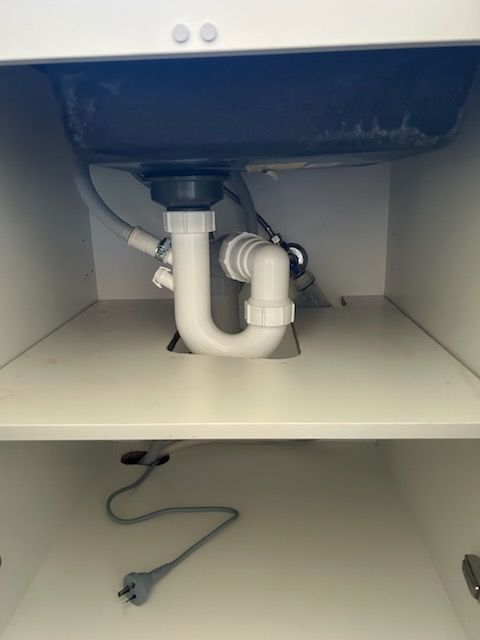
Plumbers will also need the appliances specifications if you have any gas appliances along with sinks and taps etc for them to review.
They will test your water pressure to ensure it meets the standard and if it’s too high may require a pressure limiting value to be installed.
Ensure the plumber and electrician provide a certificate of compliance for their work. This step is required by law and crucial to guarantee the safety and functionality of your new kitchen.
Plastering
If your renovation involves removing a splashback, hire a skilled plasterer to repair / replace any damaged plaster. Splashbacks are glued to the plasterboard behind them and when removed, this damages the plasterboard. In most cases, the plasterboard behind the splashback is cut out and removed.
A smooth and well-prepared surface is essential for the next steps of your renovation.

Splashback Installation
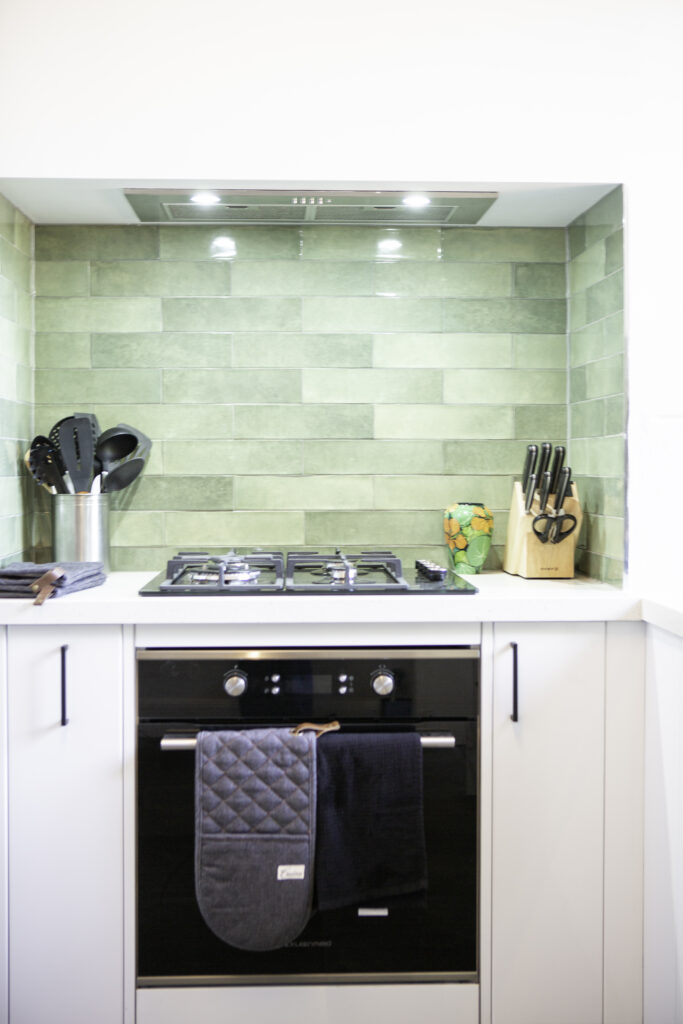
There are lots of options for a splashback but the most common are acrylic, tile and stone / porcelain.
An acrylic splashback is usually installed by the joinery installer once they have completed the cabinetry installation. If your having a acrylic splashback ensure this is included in your joinery installation proposal.
If you’re planning a tile splashback, get quotes from experienced tilers and ensure they have a solid reputation for quality work. The right tiles can add a touch of personality to your space.
A stone or porcelain type splashback is usually installed by the bench top installers post the bench top installation.
Painting
Painting is often an area of the project renovators take on themselves. Choose colours that complement your design and your whole house, and create a cohesive look throughout.

Home Preparation
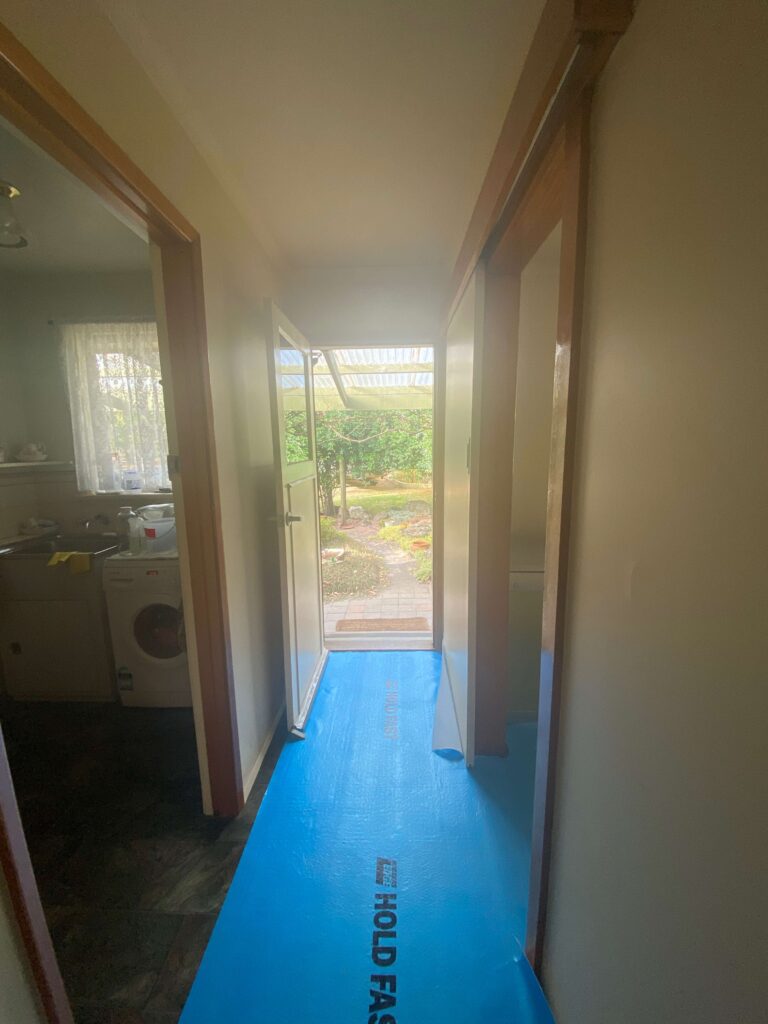
Prepare your home and the renovation space to sure damage does not occur and the property is kept as clean as possible.
Identify the thoroughfare that the trades will be entering and exiting the property via.
Remove pictures and paintings from walls and furniture from the area to ensure a clear walkway. Materials will be carried in and out of the property, the more space available the easier this will be.
Cover furniture with drop cloths to minimise dust and keep furniture clean. An additional step can be to wall off the renovation area with plastic sheeting to minimise dust moving throughout the home.
Ensure the kitchen cabinets emptied and any appliances removed from the space prior to works commencing.
We recommend using floor coverings to protect your flooring during the renovation. There are different types of floor coverings depending on your floor type, being either hard (tile or timber) or carpet. The floor coverings have an adhesive back to ensure they’re stuck down to the floor ensuring they don’t become a trip hazard.
Scheduling
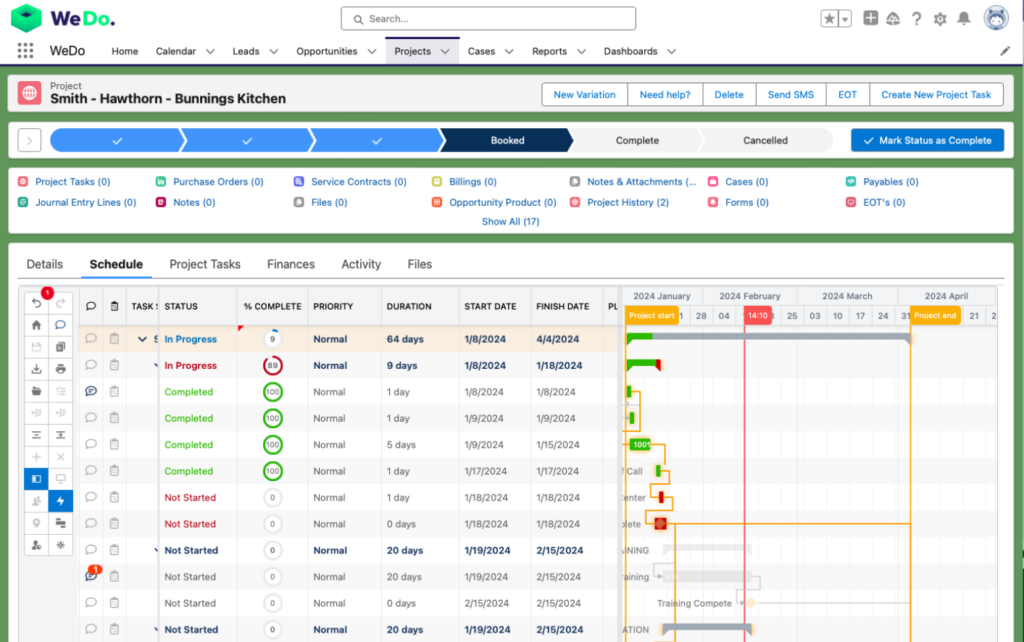
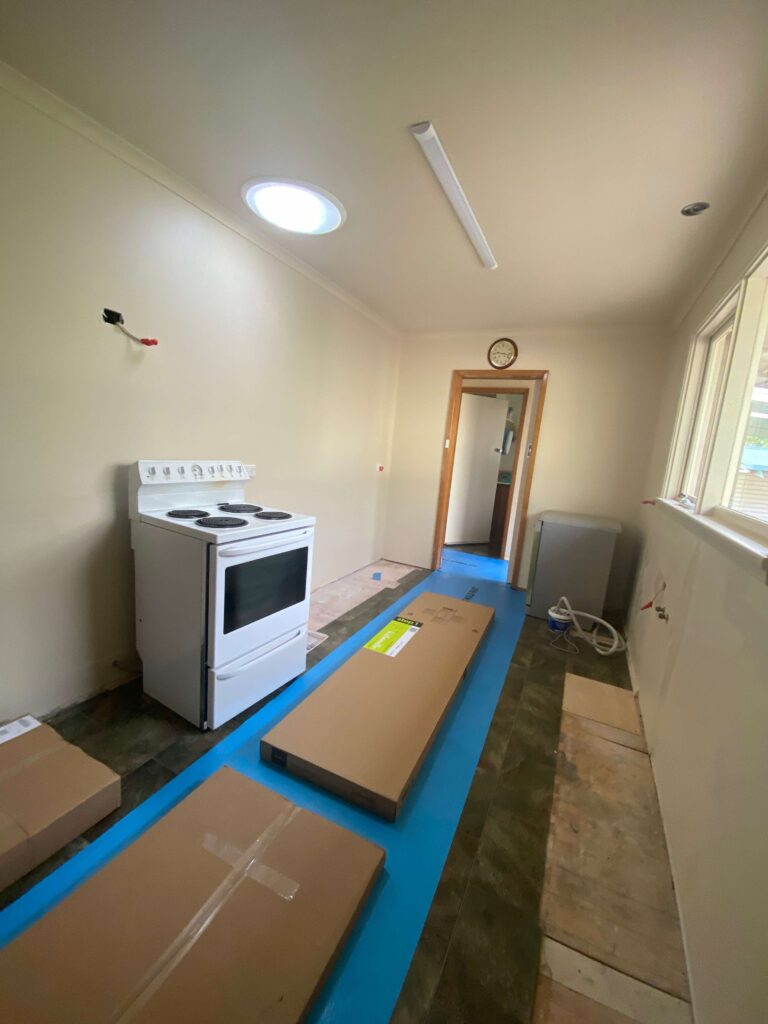
Scheduling the trades in the correct order is crucial for optimising the efficiency of your kitchen renovation project while minimising delays.
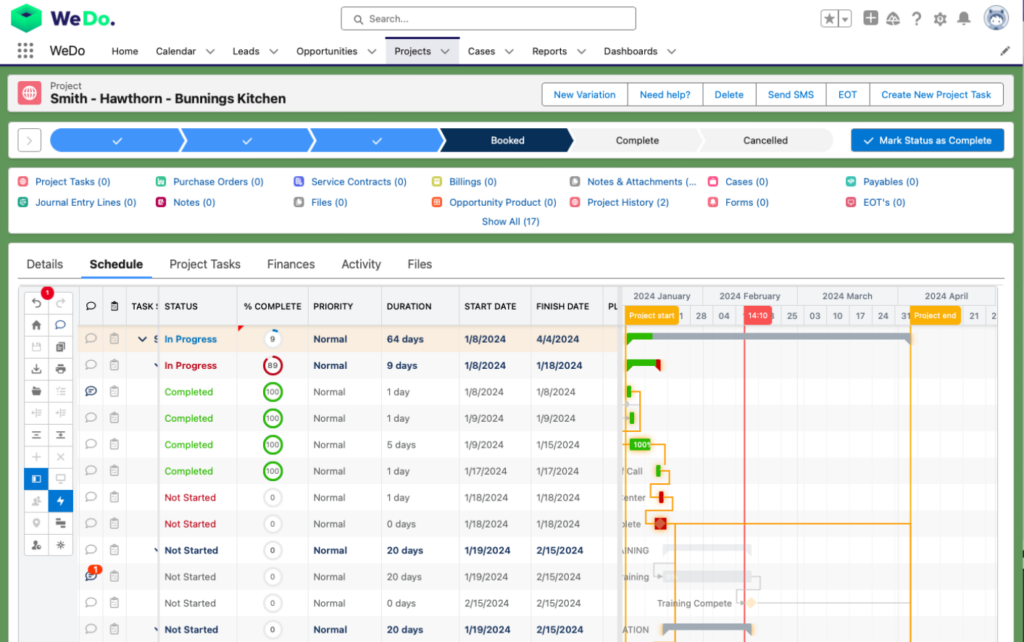
Start by coordinating with your installer to establish a timeline that allows ample time for each trade to complete their work without unnecessary overlap. Consider the number of visits required for each trade and plan accordingly to minimize disruptions while keeping the schedule tight. By strategically sequencing the trades and allowing sufficient time for completion, you can ensure that the project progresses smoothly and stays on track to meet your desired timeframe.
Schedule your trades in advance of the works starting to make sure they are available. Waiting for one trade to finish before scheudling the next can add weeks if not longer to a project.
Effective communication and coordination among all parties involved are key to orchestrating a seamless renovation from start to finish.
If you are living in the property or require a quick turn around, talk to WeDo about our schedules and timelines.
Workmanship
You would expect when hiring professional trades that they are experts and will complete the work to the highest quality.
Unfortunately, this is not always the case, and if you’re managing the renovation project it will be up to you to quality control the works.
Talk to WeDo about how we project manage and quality control our projects.
Important Legal Considerations
Ensure that all trades involved, especially plumbers and electricians, are licensed and provide certificates of compliance.

If a builder manages the project and the total cost exceeds $10,000 (including GST), insist on a detailed building contract (as required by law).
For projects exceeding $16,000 (including GST) in Victoria, a home warranty insurance policy is mandatory.
Any trade that you employee must hold appropriate and current insurances and policies. If damage occurs to your home, its contents or someone is injured, you want to be sure their insurances and polices cover it and it won’t fall back onto you.
By following these step-by-step guidelines and paying attention to legal considerations, you can navigate your kitchen renovation with confidence.
Alternatively, speak to WeDo and we can take care of the entire process for you.
- WeDo are registered builders with 25+ years experience.
- All projects are managed by a dedicated project team.
- All projects are provided on a HIA building contact and include home warranty insurance where applicable.

Speak to WeDo today about removing the headache by using a trusted and experienced team.
Chat to us about your project.